
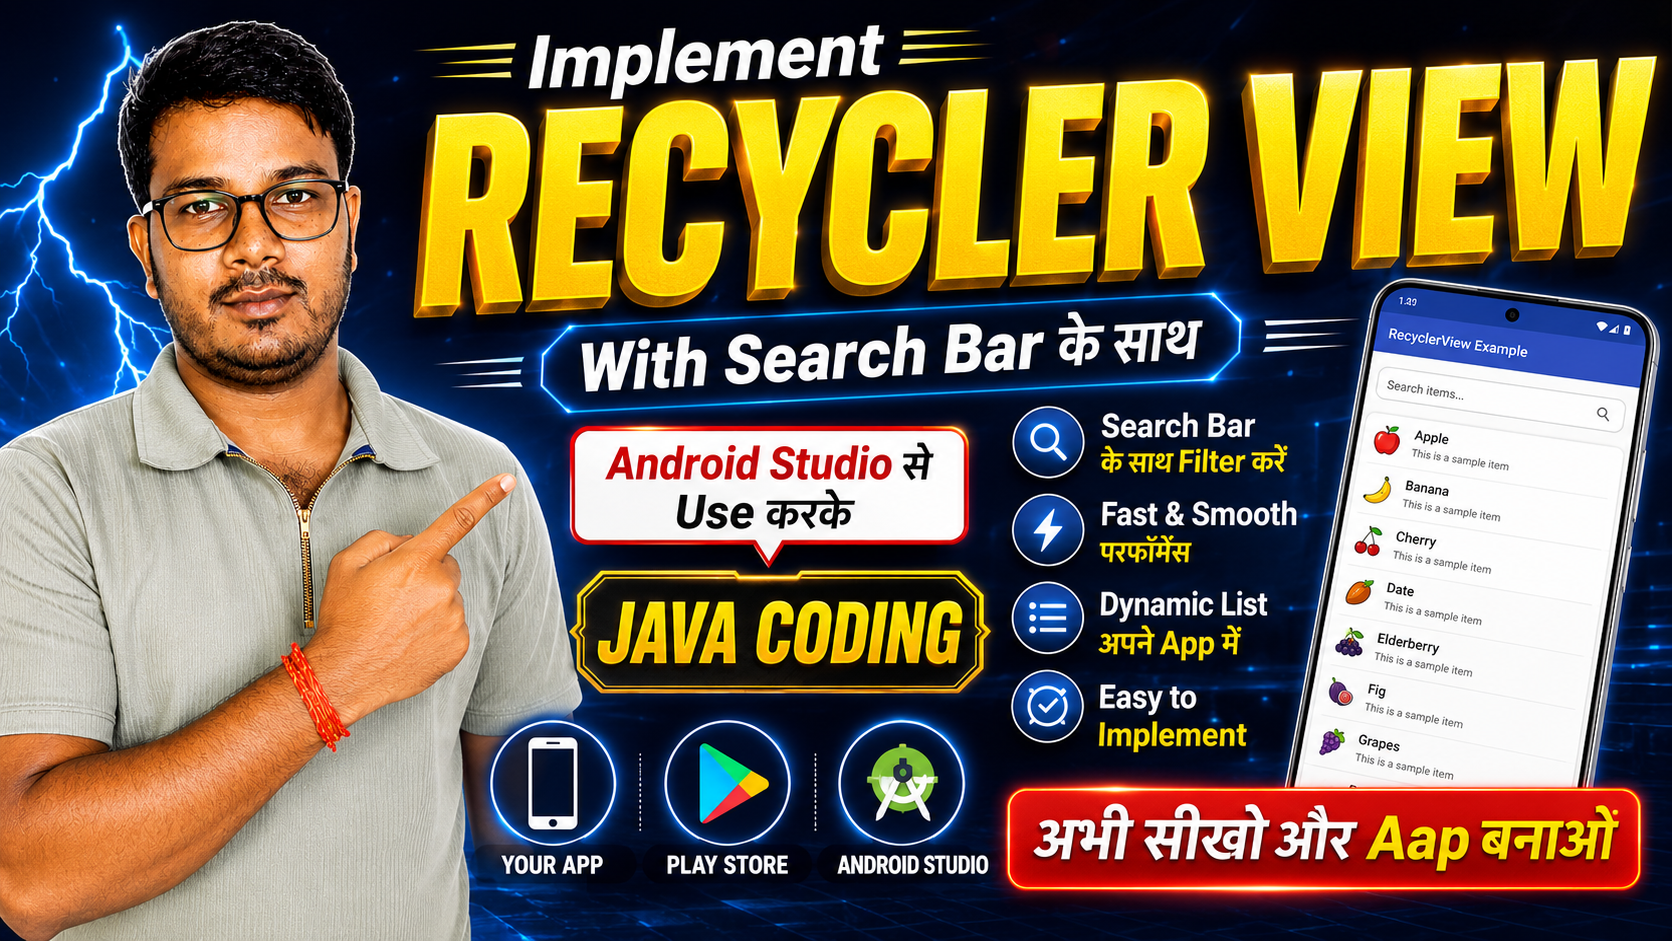
In this post, we will explore how to create and implement a search bar within a RecyclerView in an Android app. If you are an Android developer, you will find all the necessary information here; the code provided below is up-to-date and optimized for the latest standards. Please follow the steps outlined below to set up your project effectively.
If you want to create this effectively, click the YouTube video link button below and follow along with our video while using this website; your project will turn out excellent.
Whenever you create an action bar menu named “actionbar.xml” for a project, you must first implement the menu icon in your project; only then can you implement it via code.
<?xml version="1.0" encoding="utf-8"?>
<menu xmlns:android="http://schemas.android.com/apk/res/android"
    xmlns:app="http://schemas.android.com/apk/res-auto">

    <item
        android:id="@+id/search"
        android:icon="@drawable/search"
        android:title="@string/search"
        app:showAsAction="ifRoom|collapseActionView"
        app:actionViewClass="androidx.appcompat.widget.SearchView" />

</menu>
In the next step, we will learn how to design the XML layout named “model_item.xml” for the model item that will be displayed in the RecyclerView. I am providing this design for free via our website. Whether you are watching our YouTube channel or arrived here from the website, you can get the project code for free; simply copy and paste the code provided below, and your model item layout will be ready.
<?xml version="1.0" encoding="utf-8"?>
<androidx.cardview.widget.CardView xmlns:android="http://schemas.android.com/apk/res/android"
    xmlns:app="http://schemas.android.com/apk/res-auto"
    android:layout_width="match_parent"
    android:layout_height="wrap_content"
    android:clickable="true"
    android:focusable="true"
    android:foreground="?android:attr/selectableItemBackground"
    app:cardBackgroundColor="@color/white"
    app:cardCornerRadius="4dp"
    app:cardUseCompatPadding="true">

    <LinearLayout
        android:id="@+id/linearLayout"
        android:layout_width="match_parent"
        android:layout_height="wrap_content"
        android:orientation="horizontal"
        android:padding="12dp"
        android:weightSum="1">

        <ImageView
            android:id="@+id/modelImage"
            android:layout_width="60dp"
            android:layout_height="60dp"
            android:contentDescription="@string/app_name"
            android:padding="2dp"
            android:src="@mipmap/ic_launcher" />

        <LinearLayout
            android:layout_width="0dp"
            android:layout_height="match_parent"
            android:layout_marginStart="8dp"
            android:layout_weight=".9"
            android:gravity="center_vertical"
            android:orientation="vertical"
            android:padding="2dp">

            <TextView
                android:id="@+id/modelTitle"
                android:layout_width="match_parent"
                android:layout_height="wrap_content"
                android:fontFamily="@font/open_sans_semibold"
                android:text="@string/title"
                android:textAppearance="@style/TextAppearance.AppCompat.Medium"
                android:textColor="@color/black"
                android:textStyle="bold" />
        </LinearLayout>

        <ImageView
            android:layout_width="0dp"
            android:layout_height="match_parent"
            android:layout_weight=".1"
            android:background="@android:color/transparent"
            android:contentDescription="@string/app_name"
            android:padding="6dp"
            android:src="@drawable/arroe" />

    </LinearLayout>

</androidx.cardview.widget.CardView>
Now, we will understand how to proceed after implementing the model item in the project. For whichever activity we choose to display this model item in, we must implement a RecyclerView layout. Subsequently, we will execute this setup using Java code, enabling our users to interact with it.
<?xml version="1.0" encoding="utf-8"?>
<androidx.coordinatorlayout.widget.CoordinatorLayout xmlns:android="http://schemas.android.com/apk/res/android"
    xmlns:app="http://schemas.android.com/apk/res-auto"
    xmlns:tools="http://schemas.android.com/tools"
    android:id="@+id/main"
    android:layout_width="match_parent"
    android:layout_height="match_parent"
    android:background="@color/purple_200"
    tools:context=".MainActivity">

    <com.google.android.material.appbar.AppBarLayout
        android:id="@+id/appBarLayout"
        android:layout_width="match_parent"
        android:layout_height="wrap_content"
        android:theme="@style/ThemeOverlay.AppCompat.Dark.ActionBar">

        <androidx.appcompat.widget.Toolbar
            android:id="@+id/toolBar"
            android:layout_width="match_parent"
            android:layout_height="?attr/actionBarSize"
            android:theme="@style/ThemeOverlay.AppCompat.Dark.ActionBar"
            app:layout_scrollFlags="scroll|enterAlways" />

    </com.google.android.material.appbar.AppBarLayout>

    <androidx.recyclerview.widget.RecyclerView
        android:id="@+id/recyclerView"
        android:layout_width="match_parent"
        android:layout_height="match_parent"
        android:background="@color/white"
        android:scrollbars="vertical"
        app:layout_behavior="@string/appbar_scrolling_view_behavior" />


</androidx.coordinatorlayout.widget.CoordinatorLayout>
We have completed the remaining work on the XML layout; now, we will execute the project using the Java activity and test it on a real device to see how it functions. Please note that the code I provide is entirely my own—I created it myself. Similarly, all the code blocks on the website you are copying from are also my own creations. You should not simply copy and paste this code to create a new website, as you could face copyright issues.
First, we will create the ‘Item Click Listener’ Java file and copy and paste the code into it.
package com.bharatapptutorial.recyclerviewwithsearchbar;

import android.view.View;

public interface ItemClickListener {
    void onItemClick(View v, int pos);
}
Now, we will create the “Model.java” file and connect the elements we designed in the model item to this Java model so that we can display the layout on the machine.
package com.bharatapptutorial.recyclerviewwithsearchbar;

public class Model {
    private String title;
    private int image;

    // Constructor
    public Model() {
        this.title = title;
        this.image = image;
    }

    // Getter and Setter
    public String getTitle() {
        return title;
    }

    public void setTitle(String title) {
        this.title = title;
    }

    public int getImage() {
        return image;
    }

    public void setImage(int image) {
        this.image = image;
    }
}
Now, we will create a ‘MyHolder’ class (or ViewHolder), where we will implement the logic for the items displayed in the RecyclerView and handle their connection to the adapter. Creating this ‘MyHolder’ class is a crucial step before building the adapter itself; simply copy and paste the provided code into your project to implement it.
package com.bharatapptutorial.recyclerviewwithsearchbar;

import android.view.View;
import android.widget.ImageView;
import android.widget.TextView;

import androidx.annotation.NonNull;
import androidx.recyclerview.widget.RecyclerView;

public class MyHolder extends RecyclerView.ViewHolder implements View.OnClickListener {
    ImageView img;
    TextView modelText;
    private ItemClickListener itemClickListener;

    // Constructor
    public MyHolder(@NonNull View itemView) {
        super(itemView);
        this.img = itemView.findViewById(R.id.modelImage);
        this.modelText = itemView.findViewById(R.id.modelTitle);
        itemView.setOnClickListener(this);
    }

    @Override
    public void onClick(View v) {
        this.itemClickListener.onItemClick(v, getLayoutPosition());
    }

    void setItemClickListener(ItemClickListener ic) {
        this.itemClickListener = ic;
    }
}
Now, our work lies within “MyAdapter”; this is where we handle the RecyclerView click listener system and manage updates to the ImageView and TextView. I recommend directly copying and pasting the code I am providing into your project to ensure you don’t encounter any errors.
package com.bharatapptutorial.recyclerviewwithsearchbar;

import android.content.Context;
import android.view.LayoutInflater;
import android.view.View;
import android.view.ViewGroup;
import android.widget.Filter;
import android.widget.Filterable;

import androidx.annotation.NonNull;
import androidx.recyclerview.widget.RecyclerView;

import java.util.ArrayList;
import java.util.List;

public class MyAdapter extends RecyclerView.Adapter<MyHolder> implements Filterable {
    private Context context;
    private final ArrayList<Model> models;
    private final ArrayList<Model> modelFullList;

    // Constructor
    public MyAdapter(Context context, ArrayList<Model> models) {
        this.context = context;
        this.models = models;
        modelFullList = new ArrayList<>(models);

    }

    @NonNull
    @Override
    public MyHolder onCreateViewHolder(@NonNull ViewGroup parent, int viewType) {
        // Convert XML to OBJ
        View v = LayoutInflater.from(parent.getContext()).inflate(R.layout.model_item, null);
        return new MyHolder(v);
    }

    @Override
    public void onBindViewHolder(@NonNull MyHolder holder, int position) {

        holder.img.setImageResource(models.get(position).getImage());
        holder.modelText.setText(models.get(position).getTitle());

        // Handle Item CLick
        holder.setItemClickListener((v, pos) -> {
            // Open New Activity
            switch (models.get(pos).getTitle()) {
                case "Allahabad Bank": {
                    // Add New Activity with Intent Integration
                    break;
                }
                case "Andhra Bank": {
                    // Add New Activity with Intent Integration
                    break;
                }
            }
        });

    }

    @Override
    public int getItemCount() {
        return models.size();
    }

    @Override
    public Filter getFilter() {
        return itemFilter;
    }

    private final Filter itemFilter = new Filter() {
        @Override
        protected FilterResults performFiltering(CharSequence constraint) {
            List<Model> filteredList = new ArrayList<>();
            if (constraint == null || constraint.length() == 0) {
                filteredList.addAll(modelFullList);
            } else {
                String filterPattern = constraint.toString().toLowerCase().trim();
                for (Model item : modelFullList) {
                    if (item.getTitle().toLowerCase().contains(filterPattern)) {
                        filteredList.add(item);
                    }
                }
            }
            FilterResults results = new FilterResults();
            results.values = filteredList;
            return results;
        }

        @Override
        protected void publishResults(CharSequence constraint, FilterResults results) {
            models.clear();
            models.addAll((List) results.values);
            notifyDataSetChanged();

        }
    };
}
The remaining code for the project belongs in the ‘Main Activity’—the activity that is actually visible to the users. You need to paste the code provided below into this activity; only then will users be able to use your app and its RecyclerView system.
package com.bharatapptutorial.recyclerviewwithsearchbar;

import android.os.Bundle;
import android.view.Menu;
import android.view.MenuItem;

import androidx.activity.EdgeToEdge;
import androidx.appcompat.app.AppCompatActivity;
import androidx.appcompat.widget.Toolbar;
import androidx.core.graphics.Insets;
import androidx.core.view.MenuItemCompat;
import androidx.core.view.ViewCompat;
import androidx.core.view.WindowInsetsCompat;
import androidx.recyclerview.widget.DefaultItemAnimator;
import androidx.recyclerview.widget.GridLayoutManager;
import androidx.recyclerview.widget.RecyclerView;

import java.util.ArrayList;

public class MainActivity extends AppCompatActivity {

    private MyAdapter adapter;

    @Override
    protected void onCreate(Bundle savedInstanceState) {
        super.onCreate(savedInstanceState);
        EdgeToEdge.enable(this);
        setContentView(R.layout.activity_main);
        ViewCompat.setOnApplyWindowInsetsListener(findViewById(R.id.main), (v, insets) -> {
            Insets systemBars = insets.getInsets(WindowInsetsCompat.Type.systemBars());
            v.setPadding(systemBars.left, systemBars.top, systemBars.right, systemBars.bottom);
            return insets;
        });
        Toolbar toolbar = findViewById(R.id.toolBar);
        setSupportActionBar(toolbar);

        RecyclerView recyclerView = findViewById(R.id.recyclerView);
        recyclerView.setLayoutManager(new GridLayoutManager(this,1));
        recyclerView.setItemAnimator(new DefaultItemAnimator());

        adapter = new MyAdapter(this,getModels());
        recyclerView.setAdapter(adapter);
    }

    private ArrayList<Model> getModels() {
        ArrayList<Model> models = new ArrayList<>();
        Model p;

        // Create item one
        p = new Model();
        p.setTitle("Allahabad Bank");
        p.setImage(R.drawable.allahabd);
        models.add(p);

        p = new Model();
        p.setTitle("Andhra Bank");
        p.setImage(R.drawable.andhra);
        models.add(p);

        p = new Model();
        p.setTitle("Axis Bank");
        p.setImage(R.drawable.axis);
        models.add(p);

        p = new Model();
        p.setTitle("Bandhan Bank");
        p.setImage(R.drawable.bandhan);
        models.add(p);

        p = new Model();
        p.setTitle("Bank of Baroda");
        p.setImage(R.drawable.baroda);
        models.add(p);

        p = new Model();
        p.setTitle("Bank of India");
        p.setImage(R.drawable.boi);
        models.add(p);

        p = new Model();
        p.setTitle("Bank of Maharashtra");
        p.setImage(R.drawable.maharashtra);
        models.add(p);

        p = new Model();
        p.setTitle("Canara Bank");
        p.setImage(R.drawable.canara);
        models.add(p);

        p = new Model();
        p.setTitle("Catholic Syrian Bank");
        p.setImage(R.drawable.catholic);
        models.add(p);

        p = new Model();
        p.setTitle("Central Bank of India");
        p.setImage(R.drawable.cbi);
        models.add(p);

        p = new Model();
        p.setTitle("City Union Bank");
        p.setImage(R.drawable.cityunion);
        models.add(p);

        p = new Model();
        p.setTitle("Corporation Bank");
        p.setImage(R.drawable.corp);
        models.add(p);

        p = new Model();
        p.setTitle("DCB Bank");
        p.setImage(R.drawable.dcb);
        models.add(p);

        p = new Model();
        p.setTitle("Dhanlaxmi Bank");
        p.setImage(R.drawable.dhanlaxmi);
        models.add(p);

        p = new Model();
        p.setTitle("Federal Bank");
        p.setImage(R.drawable.federal);
        models.add(p);

        p = new Model();
        p.setTitle("HDFC Bank");
        p.setImage(R.drawable.hdfc);
        models.add(p);

        p = new Model();
        p.setTitle("ICICI Bank");
        p.setImage(R.drawable.icici);
        models.add(p);

        p = new Model();
        p.setTitle("IDBI Bank");
        p.setImage(R.drawable.idbi);
        models.add(p);

        p = new Model();
        p.setTitle("IDFC Bank");
        p.setImage(R.drawable.idfc);
        models.add(p);

        p = new Model();
        p.setTitle("Indian Bank");
        p.setImage(R.drawable.indian);
        models.add(p);

        p = new Model();
        p.setTitle("Indian Overseas Bank");
        p.setImage(R.drawable.ios);
        models.add(p);

        p = new Model();
        p.setTitle("Indusind Bank");
        p.setImage(R.drawable.indusind);
        models.add(p);

        p = new Model();
        p.setTitle("Jammu & Kashmir Bank");
        p.setImage(R.drawable.jk);
        models.add(p);

        p = new Model();
        p.setTitle("Karnataka Bank");
        p.setImage(R.drawable.karnataka);
        models.add(p);

        p = new Model();
        p.setTitle("Karur Vysya Bank");
        p.setImage(R.drawable.karur);
        models.add(p);

        p = new Model();
        p.setTitle("Kotak Mahindra Bank");
        p.setImage(R.drawable.kotak);
        models.add(p);

        p = new Model();
        p.setTitle("Lakshmi Vilas Bank");
        p.setImage(R.drawable.laxmi);
        models.add(p);

        p = new Model();
        p.setTitle("Nainital Bank");
        p.setImage(R.drawable.nainital);
        models.add(p);

        p = new Model();
        p.setTitle("Oriental Bank of Commerce");
        p.setImage(R.drawable.obc);
        models.add(p);

        p = new Model();
        p.setTitle("Punjab National Bank");
        p.setImage(R.drawable.pnb);
        models.add(p);

        p = new Model();
        p.setTitle("Punjab & Sind Bank");
        p.setImage(R.drawable.psb);
        models.add(p);

        p = new Model();
        p.setTitle("RBL Bank");
        p.setImage(R.drawable.rbl);
        models.add(p);

        p = new Model();
        p.setTitle("State Bank of India");
        p.setImage(R.drawable.sbi);
        models.add(p);

        p = new Model();
        p.setTitle("South Indian Bank");
        p.setImage(R.drawable.southindian);
        models.add(p);

        p = new Model();
        p.setTitle("Syndicate Bank");
        p.setImage(R.drawable.syndicate);
        models.add(p);

        p = new Model();
        p.setTitle("UCO Bank");
        p.setImage(R.drawable.uco);
        models.add(p);

        p = new Model();
        p.setTitle("Union Bank of India");
        p.setImage(R.drawable.union);
        models.add(p);

        p = new Model();
        p.setTitle("United Bank of India");
        p.setImage(R.drawable.united);
        models.add(p);

        return models;
    }

    @Override
    public boolean onCreateOptionsMenu(Menu menu) {
        getMenuInflater().inflate(R.menu.actionbar, menu);
        MenuItem item = menu.findItem(R.id.search);
        androidx.appcompat.widget.SearchView searchView = (androidx.appcompat.widget.SearchView)
                MenuItemCompat.getActionView(item);
        searchView.setQueryHint("Type Bank Name...");

        searchView.setOnQueryTextListener(new androidx.appcompat
                .widget.SearchView.OnQueryTextListener() {
            @Override
            public boolean onQueryTextSubmit(String query) {
                return false;
            }

            @Override
            public boolean onQueryTextChange(String newText) {
                adapter.getFilter().filter(newText);
                return false;
            }
        });

        return true;
    }
}
For complete knowledge, please click the YouTube button below to watch the video; you can then launch this build on your real device. Thank you.